Crispy Thin Crust Pizza
Easy, Quick Pizza Dough
We’re huge thin crust pizza lovers in this house (this camper? lol) and it took us a few years of trying…but we finally concocted our perfect thin crust pizza. Now, could you use this recipe for a “less thin” crust? Absolutely. So if you’re like “Aight Ima head out” because you’re not a thin crust person…have no fear! This is a very basic pizza dough recipe, and what you do with it after it’s made is all up to you!
My favorite part about this recipe is I can double it, triple it, etc. if we have guests over. I can make it a day or two ahead of time & keep it in the fridge, or I can make it right when I want to eat and it’s ready to go! I’ll tell ya our favorite toppings below…but don’t feel like you can’t personalize this. This is a pizza CRUST recipe. You choose your toppings and make it delicious for you! We usually have enough to make 2-3 super thin 12” pizzas with this recipe. Adjust the recipe as needed!
Ingredients:
3/4 cup of water (if you’re making this and using it right after the 10 minute rest time, use warm water. If you’re letting it sit an hour or more, cool tap water is fine.)
1 tsp yeast
3/4 tsp salt
2 cups flour
Equipment:
The trick to the crispiest thin crust pizzas is to use these pizza screens. I used to work at a pizza restaurant & this is what they used. They’re so affordable, you can get a bunch for when you have guests, they come in a bunch of sizes, they’re useful for other things like dehydrating, reheating leftovers that you want to get crispy, and more. GAME CHANGER. I swear.
Instructions:
Step 01:
Scoop your yeast into a medium-large bowl, depending on the amount of dough you want to make. Pour the water over the yeast & let this mixture sit and activate for 5-10 minutes.
Step 02:
Add your flour and salt to the water/yeast mixture. Mix this together until combined.
Step 03:
Knead the dough for 5-8 minutes. I usually just pop on a Youtube video and do this by hand, but you could do it in a stand mixer with a dough hook, as well. You want the dough to be nice and smooth, and, when you poke it with your finger, it should make a nice little indent but should feel quite firm. (This texture is hard to explain, but, to be honest, it doesn’t need to be perfect. It’ll work well for you even if it’s not perfectly smooth).
Step 04:
Cover with a dish towel for at least 10 minutes, you can just keep it out on the counter (no fridge). This is where you have some major flexibility! If you want to make it ahead of time, you can pop this dough into a little baggy and keep it in the fridge. I have made it up to 2 days in advance, not sure if it can go longer, but if you try it - let me know how it works in the comments! If you do make it ahead of time, give it a little time to come to room temp after taking it out of the fridge. This makes it easier to roll out.
I typically like to let mine sit for an hour or so. Sometime I make it at lunchtime the day-of, sometimes I make it an hour or two before I want to eat. Regardless - just let it sit for at least 10 minutes.
Step 05:
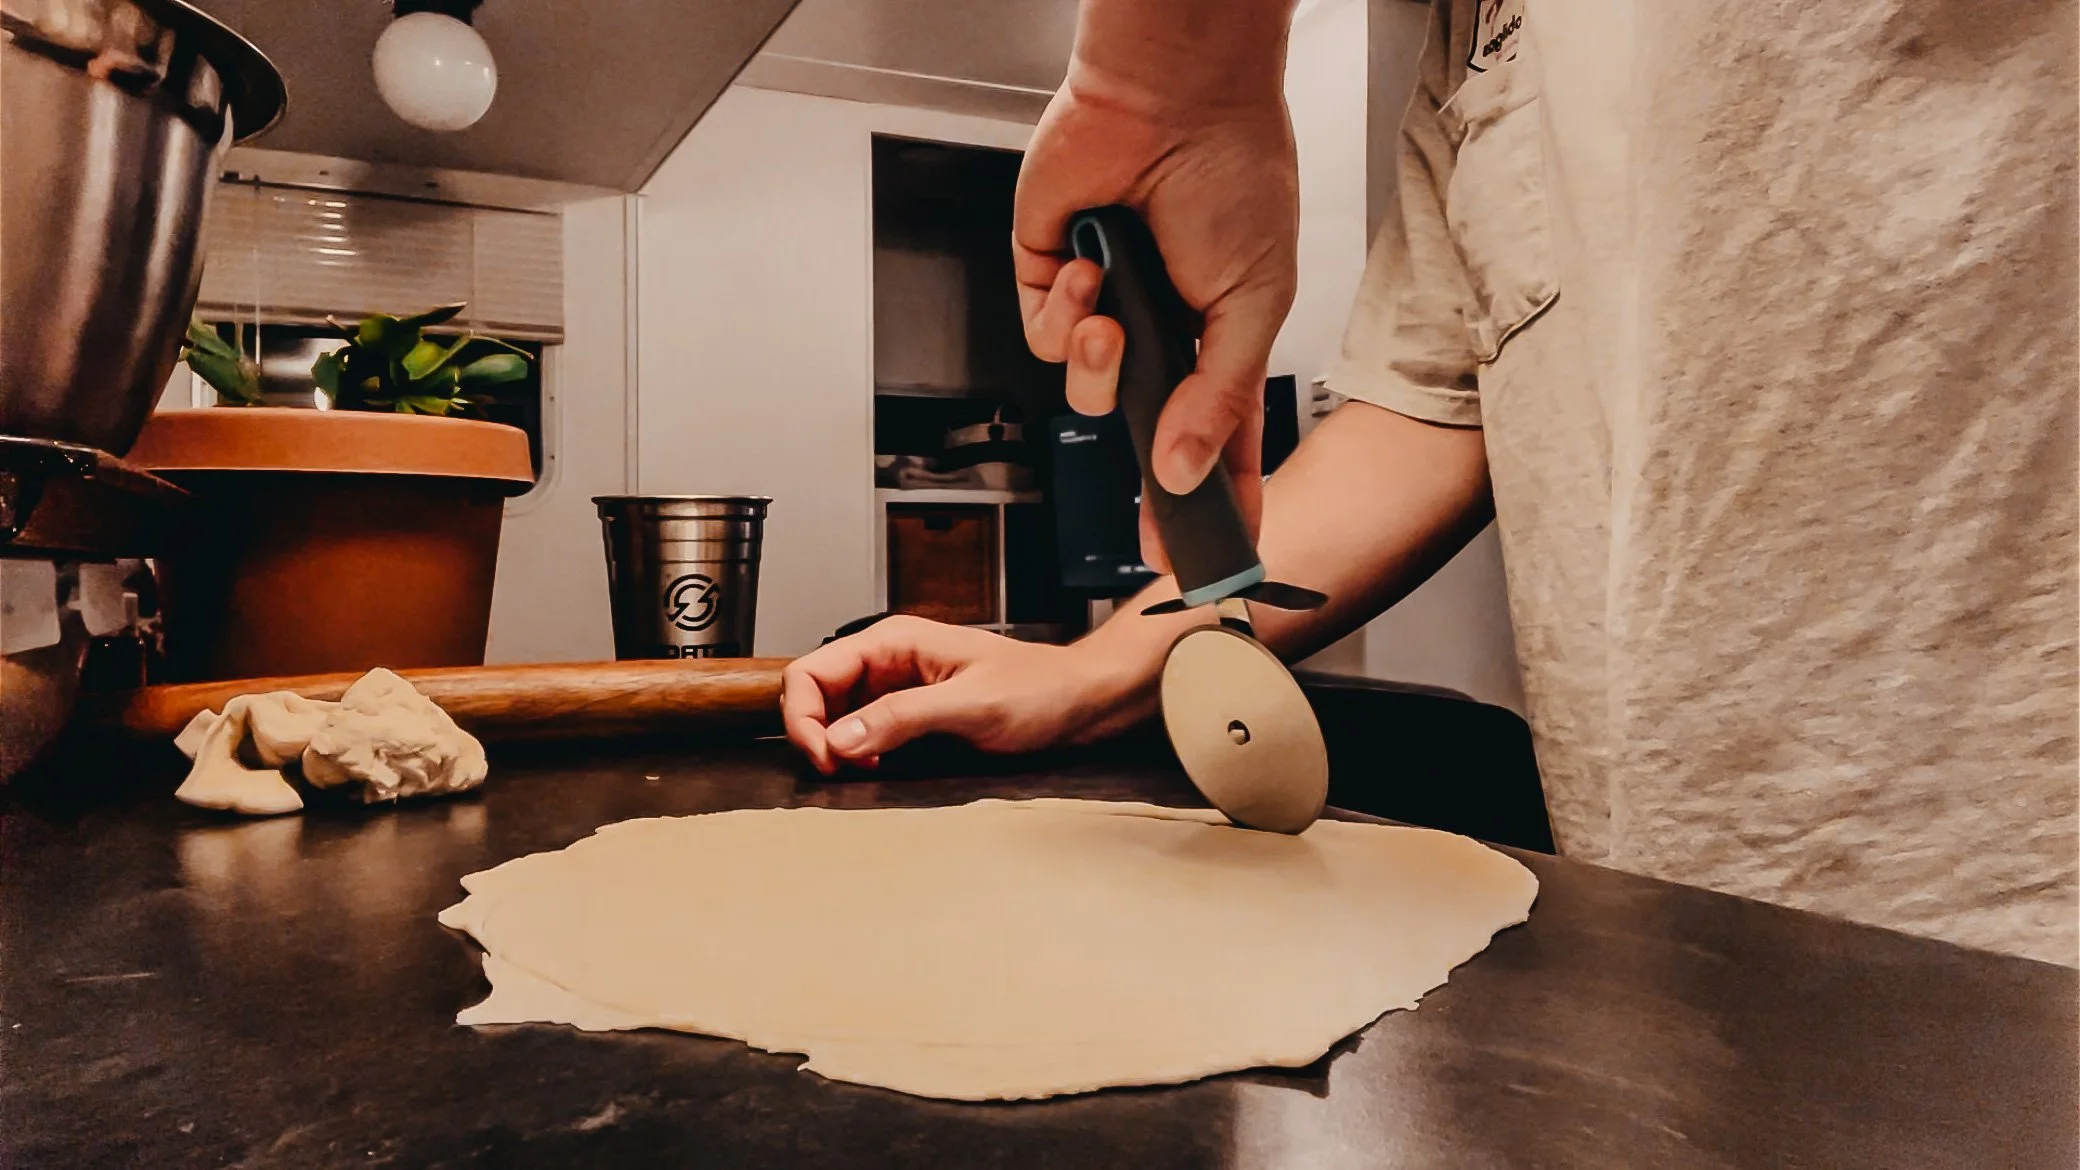
Preheat your oven to 450 degrees F. Split your dough up into rough nuggets for your pizzas - I just split ours into 2-3 usually. Use a rolling pin & roll it out to your desired thickness. If you want it thin and crispy, roll it out THIN. Like, thinner than you think it should be.
Step 06:
Set it on your pizza screens, and use your fingers to * ever-so-slightly * tuck the very edges of the dough under itself. This creates a nice little crust. I try and do as little crust as possible because, again, we like it crispy.
Step 07:
Lightly oil your entire pizza crust (yes, the whole dang circle). We use olive oil, but you can use any oil you want. This is the other trick to a crispy crust that isn’t soggy in the middle. It creates a barrier between the bottom crust and the wetness of the sauce. Genius, right?!
Step 08:
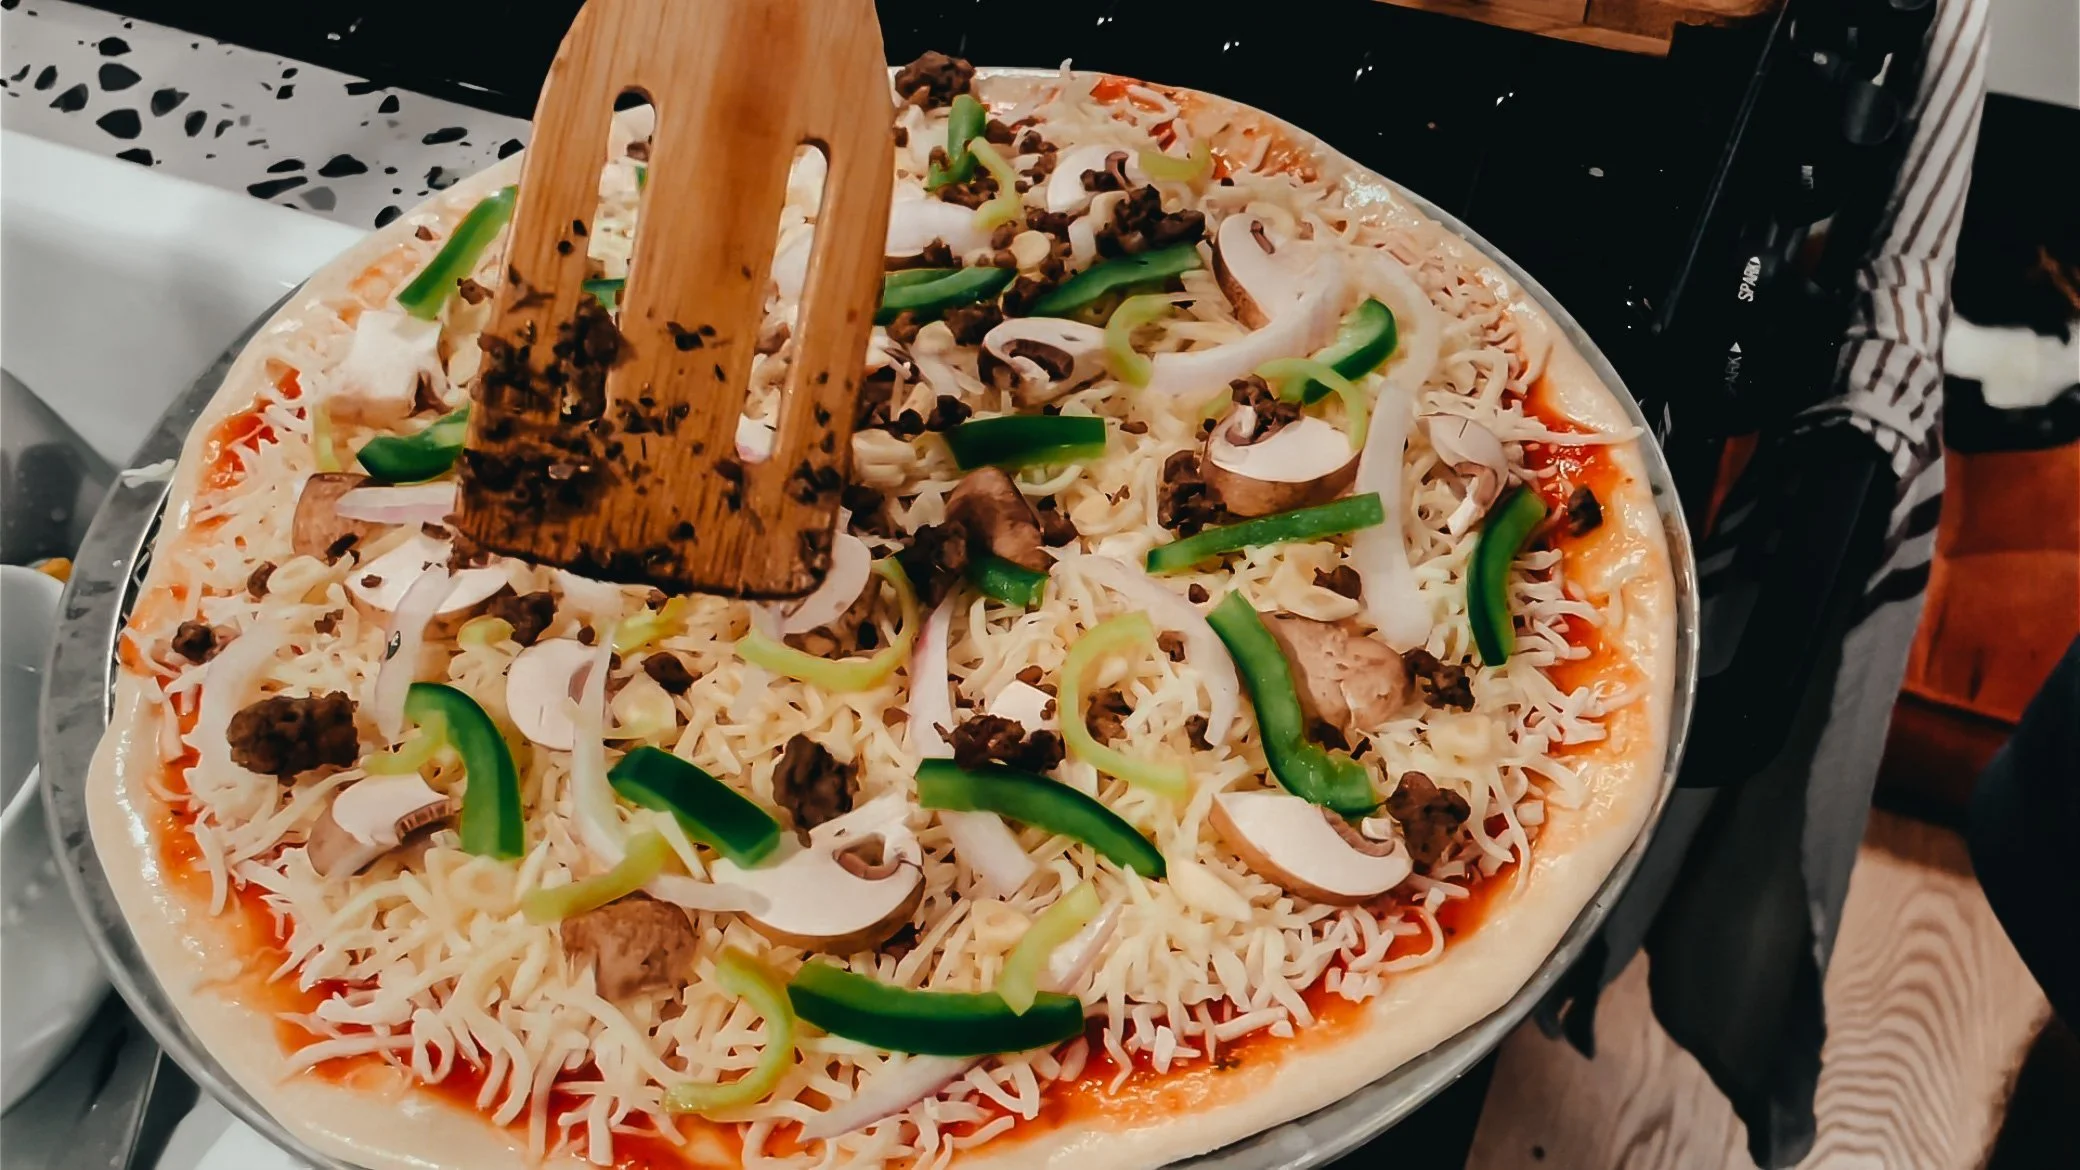
Now add your sauce, cheese, and toppings! Here are our go-to topping choices:
Taylor’s Pizza:
Red onions
Green pepper
Mushrooms
Banana pepper
Italian veggie sausage
Garlic slices
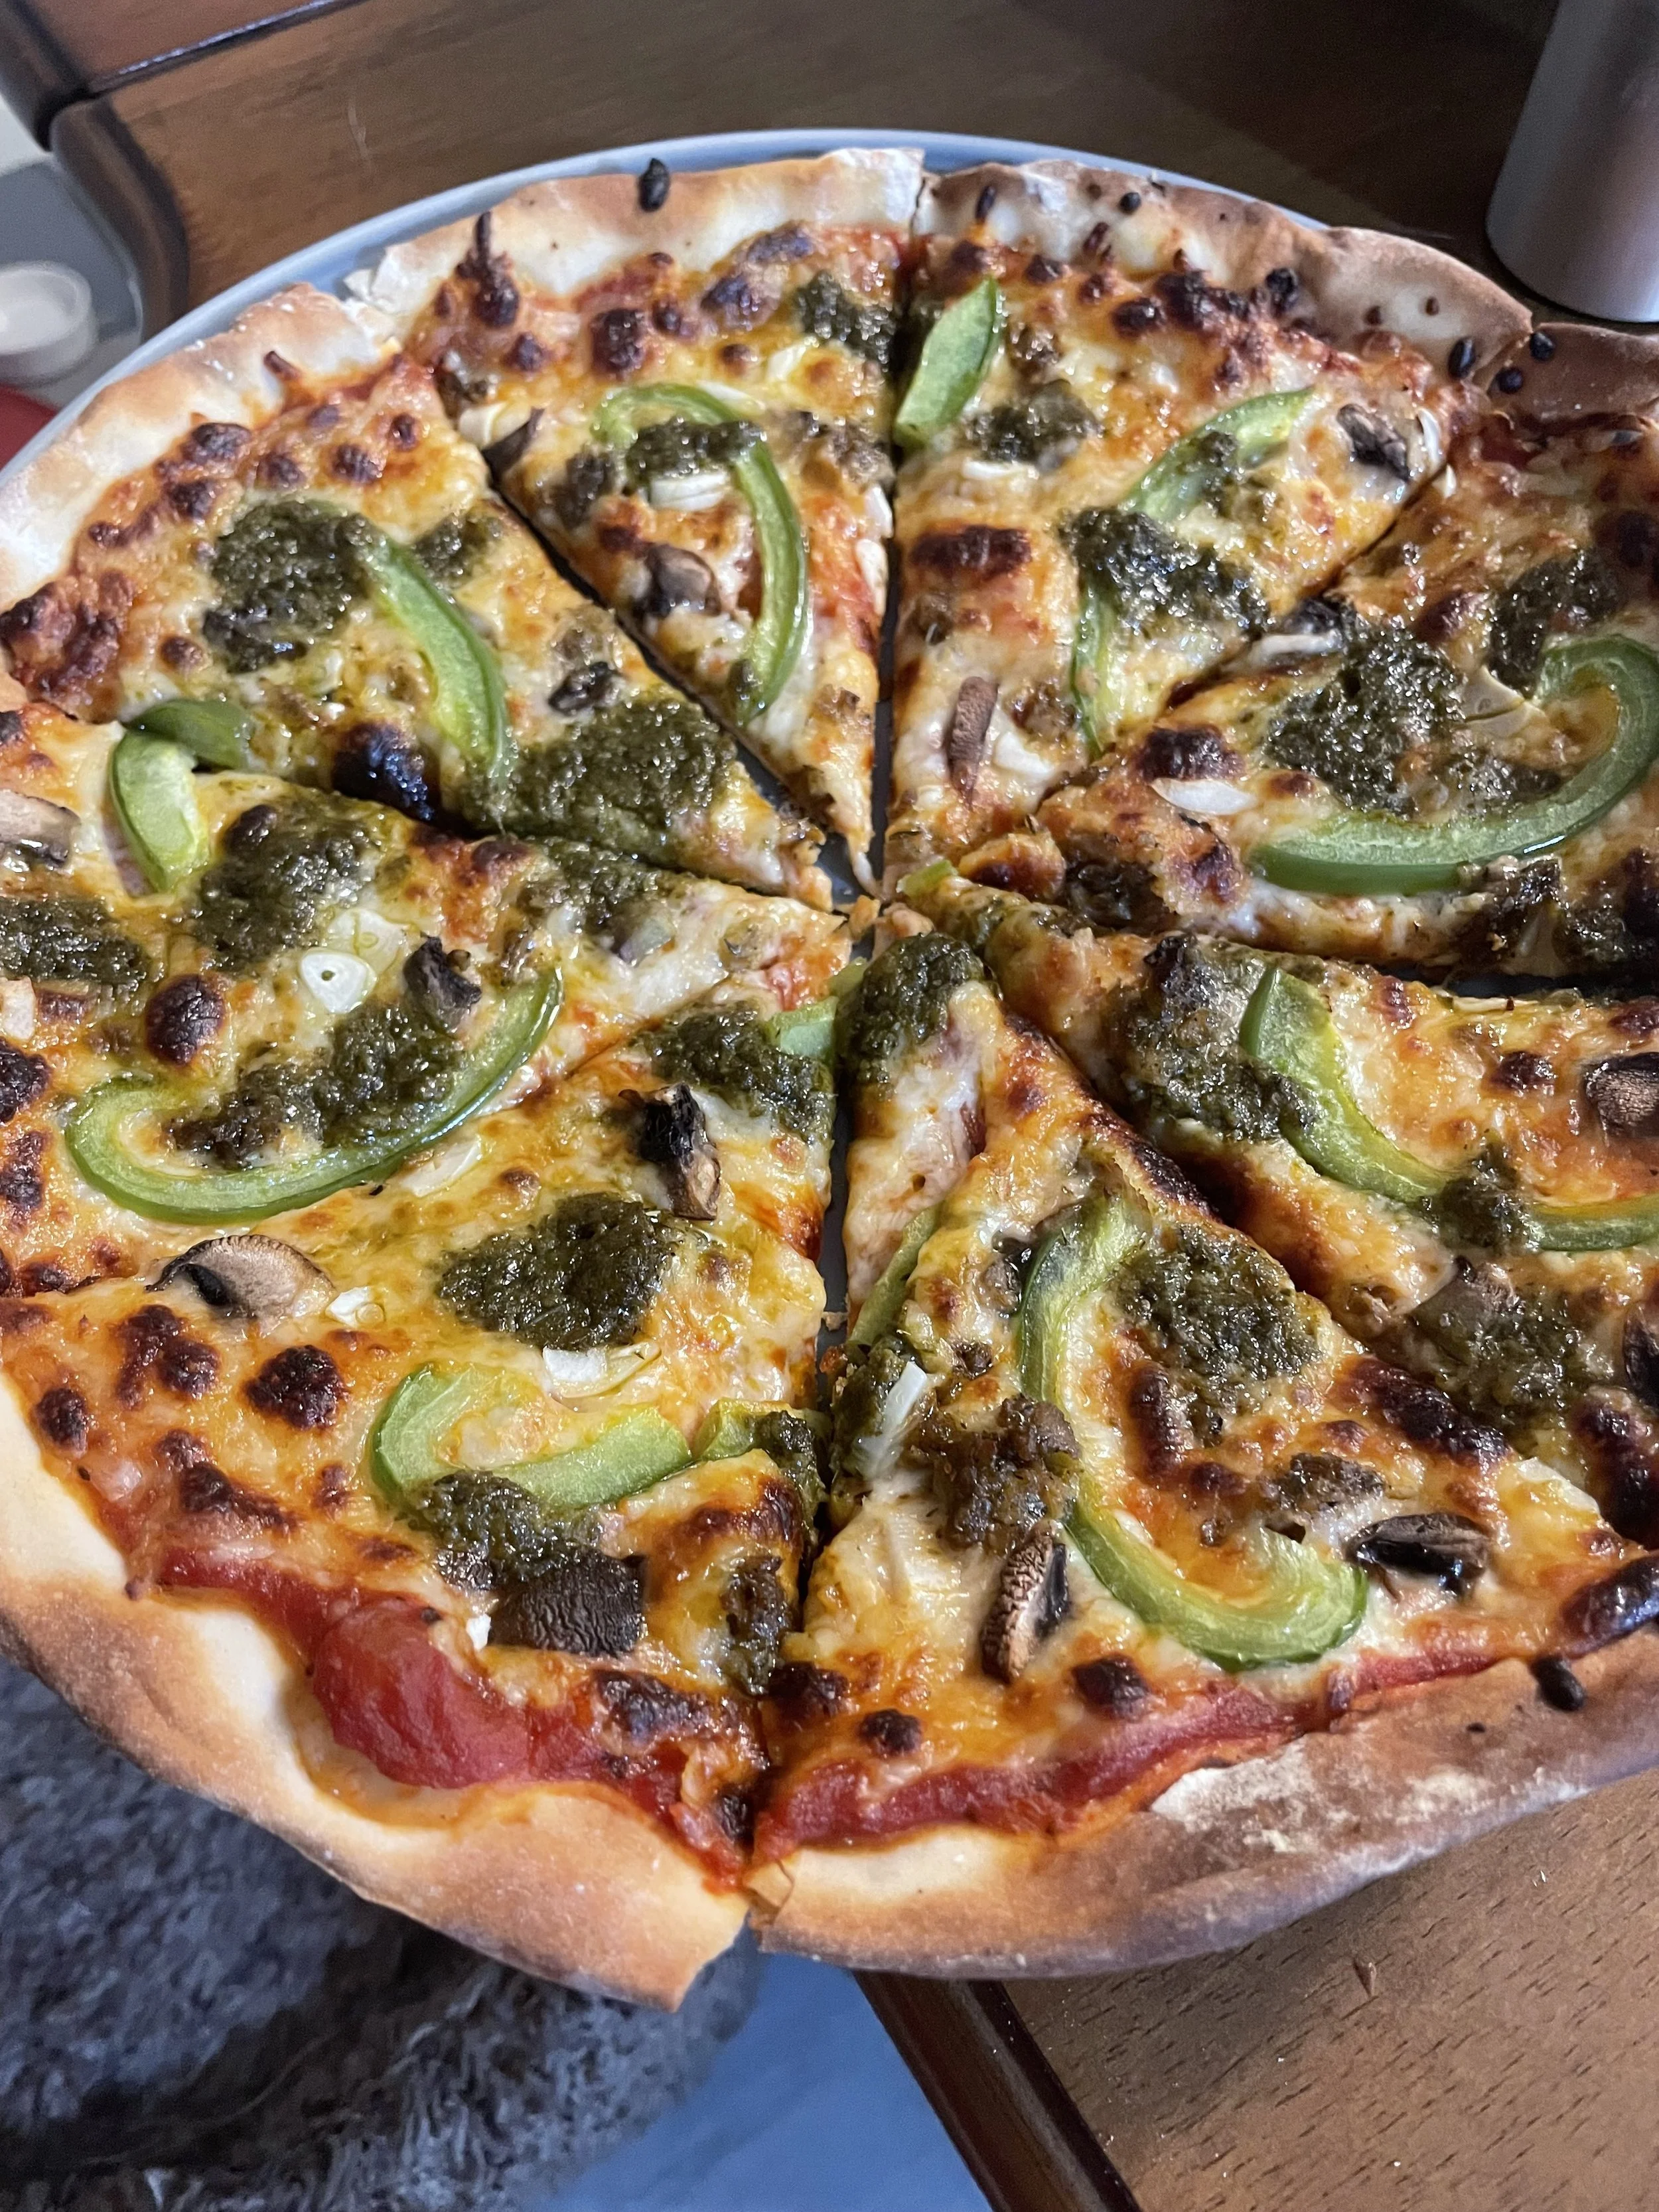
Mickayla’s Pizza:
Green pepper
Mushrooms
Italian veggie sausage
Garlic slices
Pesto
Step 09:
Bake your pizzas on the lowest oven rack that you have available. The cooking time will likely be 10-20 minutes, depending on the size of your pizza and thickness of your crust. The best way to tell if it’s done is to slide a spatula or pizza cutter under the edge, lift up, and if it’s still floppy, it isn’t done. If it all lifts up at once, nice and “solid”, she’s done! If you don’t want to do the lift test - just wait til the cheese is golden and bubbly on top!
There’s nothing like yummy homemade pizza, and I hope you take this basic crust recipe and make it your own favorite for pizza nights! What are your favorite toppings? Tell me if you try one of our fave topping combos below in a comment!
Do you have any questions?
As always, I encourage you to send me a message on my Instagram account (@calicocowacres) if you have any recipe questions or need advice while making it. I want my recipes to be something you can adapt and make your own - and I’m happy to help you do it!