
Indoor Seed Starting: Everything You Need
When it comes to seed starting there are always so many question that run through your head - even the head of an experienced gardener. A newbie might just not know where to start, whereas a seasoned pro is constantly questioning their previous methods to refine their process ~ and friends, it’s a forever ongoing process, for sure. I hope you find solace in that fact & it allows you to try this out, even if you don’t exactly know what you’re doing just yet!
Let’s start with this question - why would you want to start seeds indoors versus planting them directly into the garden? In it’s most simplistic form, the answer is this: it gives you a head start! It allows you to nurture those seedlings in a controlled environment and a timeline that works best for you, so you’re not relying on Home Depot or Walmart’s timelines for when they put their seedlings outside.
Some other benefits of starting your own seeds are:
It saves you money. You’ll spend $3 for 100 seeds versus $5 for one singular plant. That adds up!
You can control how they’re grown. A lot of the seedlings at the store are not grown organically.
You get access to a significant amount of variety as opposed to the storebought seedlings. Walmart carries 3 types of tomatoes (I don’t know if they actually do, this is theoretical), but it is legitimately estimated that there are over 10,000 tomato varieties that exist. TEN THOUSAND.
Lastly, to elaborate on the “head start” previously mentioned, starting seeds indoors allows those with shorter growing seasons to grow certain crops that take longer to produce. Even in Zone 7b here in north carolina, I have to start my peppers indoors in January. That’s nearly 12 weeks before my “estimated last frost date” (don’t know what that is? find yours here: https://www.almanac.com/gardening/frostdates).
Not all seeds like to be started indoors (root crops, for example, do not like to be disturbed once they’re planted). I won’t elaborate much on this here, as it’s a whole other topic to discuss in length. The key here is to find out your first & last frost dates to determine the length of your growing season. Start with that!
Now let’s get more in depth.

This is my ENTIRE Indoor Seed Starting Setup.
This is a compilation of everything you could possibly need to successfully start seeds indoors. I’ve honed this list over the last few years, but believe me when I say I have made my fair share of mistakes. I’m still learning, too. I will forever be tweaking my process.
Don’t get me wrong, I’m confident you could grow some decent food with a very minimal setup, but' I’ve learned that having the correct tools & systems in place truly helps my garden thrive and keeps me slightly more sane during the spring rush of planting.
So what do you actually need for an awesome seed starting setup? Let’s get into that. If you already have all the tools you need, and you just want to see how I start my seeds or a visual tour of my setup, check out this video:
Everything You Need to Start Seeds Indoors
Shelving:

Obviously you could place your trays anywhere, but I love these shelves because it gives me a dedicated vertical space to place a multitude of trays & I can utilize these shelves for a variety of other purposes in the future if I ever relocate, change, or downsize my seed starting operation. I use 3ft wide shelves from menards, home depot, etc. Initially I got them because they were the cheapest option, we were moving a lot & they’re easy to break down and put back up, and they don’t take up a lot of space. I love them now because they work perfectly with my lights to be able to adjust their heights! I can fit 2 trays per shelf, and I use 2 lights per shelf. I utilize the top shelf for extra supplies, like pots. watering cans, & bags of fertilizer. This is the style of shelf I use:
Lights:
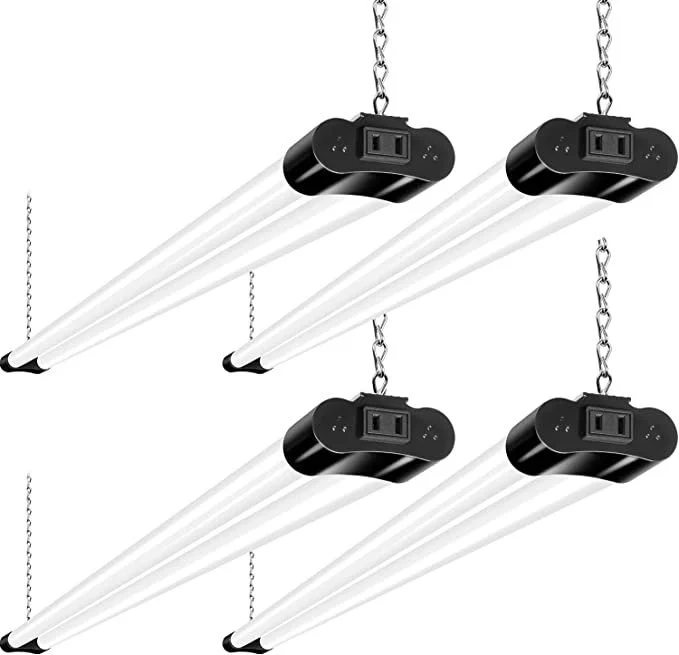
These things are the best. They grow great seedlings, they only require ONE outlet, and they’re dang bright! They’re also a very affordable option compared to most lighting options. They go on sale often.

If it weren’t for these bad boys, my lights would never get turned on. We have our seed starting operation in the basement…out of sight out of mind is REAL. You could also use a timer, but I like these because I can easily schedule when they turn on & off & change it from my app. I can also turn them off via the app manually, without having to run downstairs.
Heat Mats:

While you can successfully grow heat-loving plants without a heat mat, I wouldn’t recommend it. The germination is much spottier, and they don’t seem to thrive as well as ones I start on a heat mat. I use this for peppers & tomatoes, lavender, rosemary, ginger, and more.
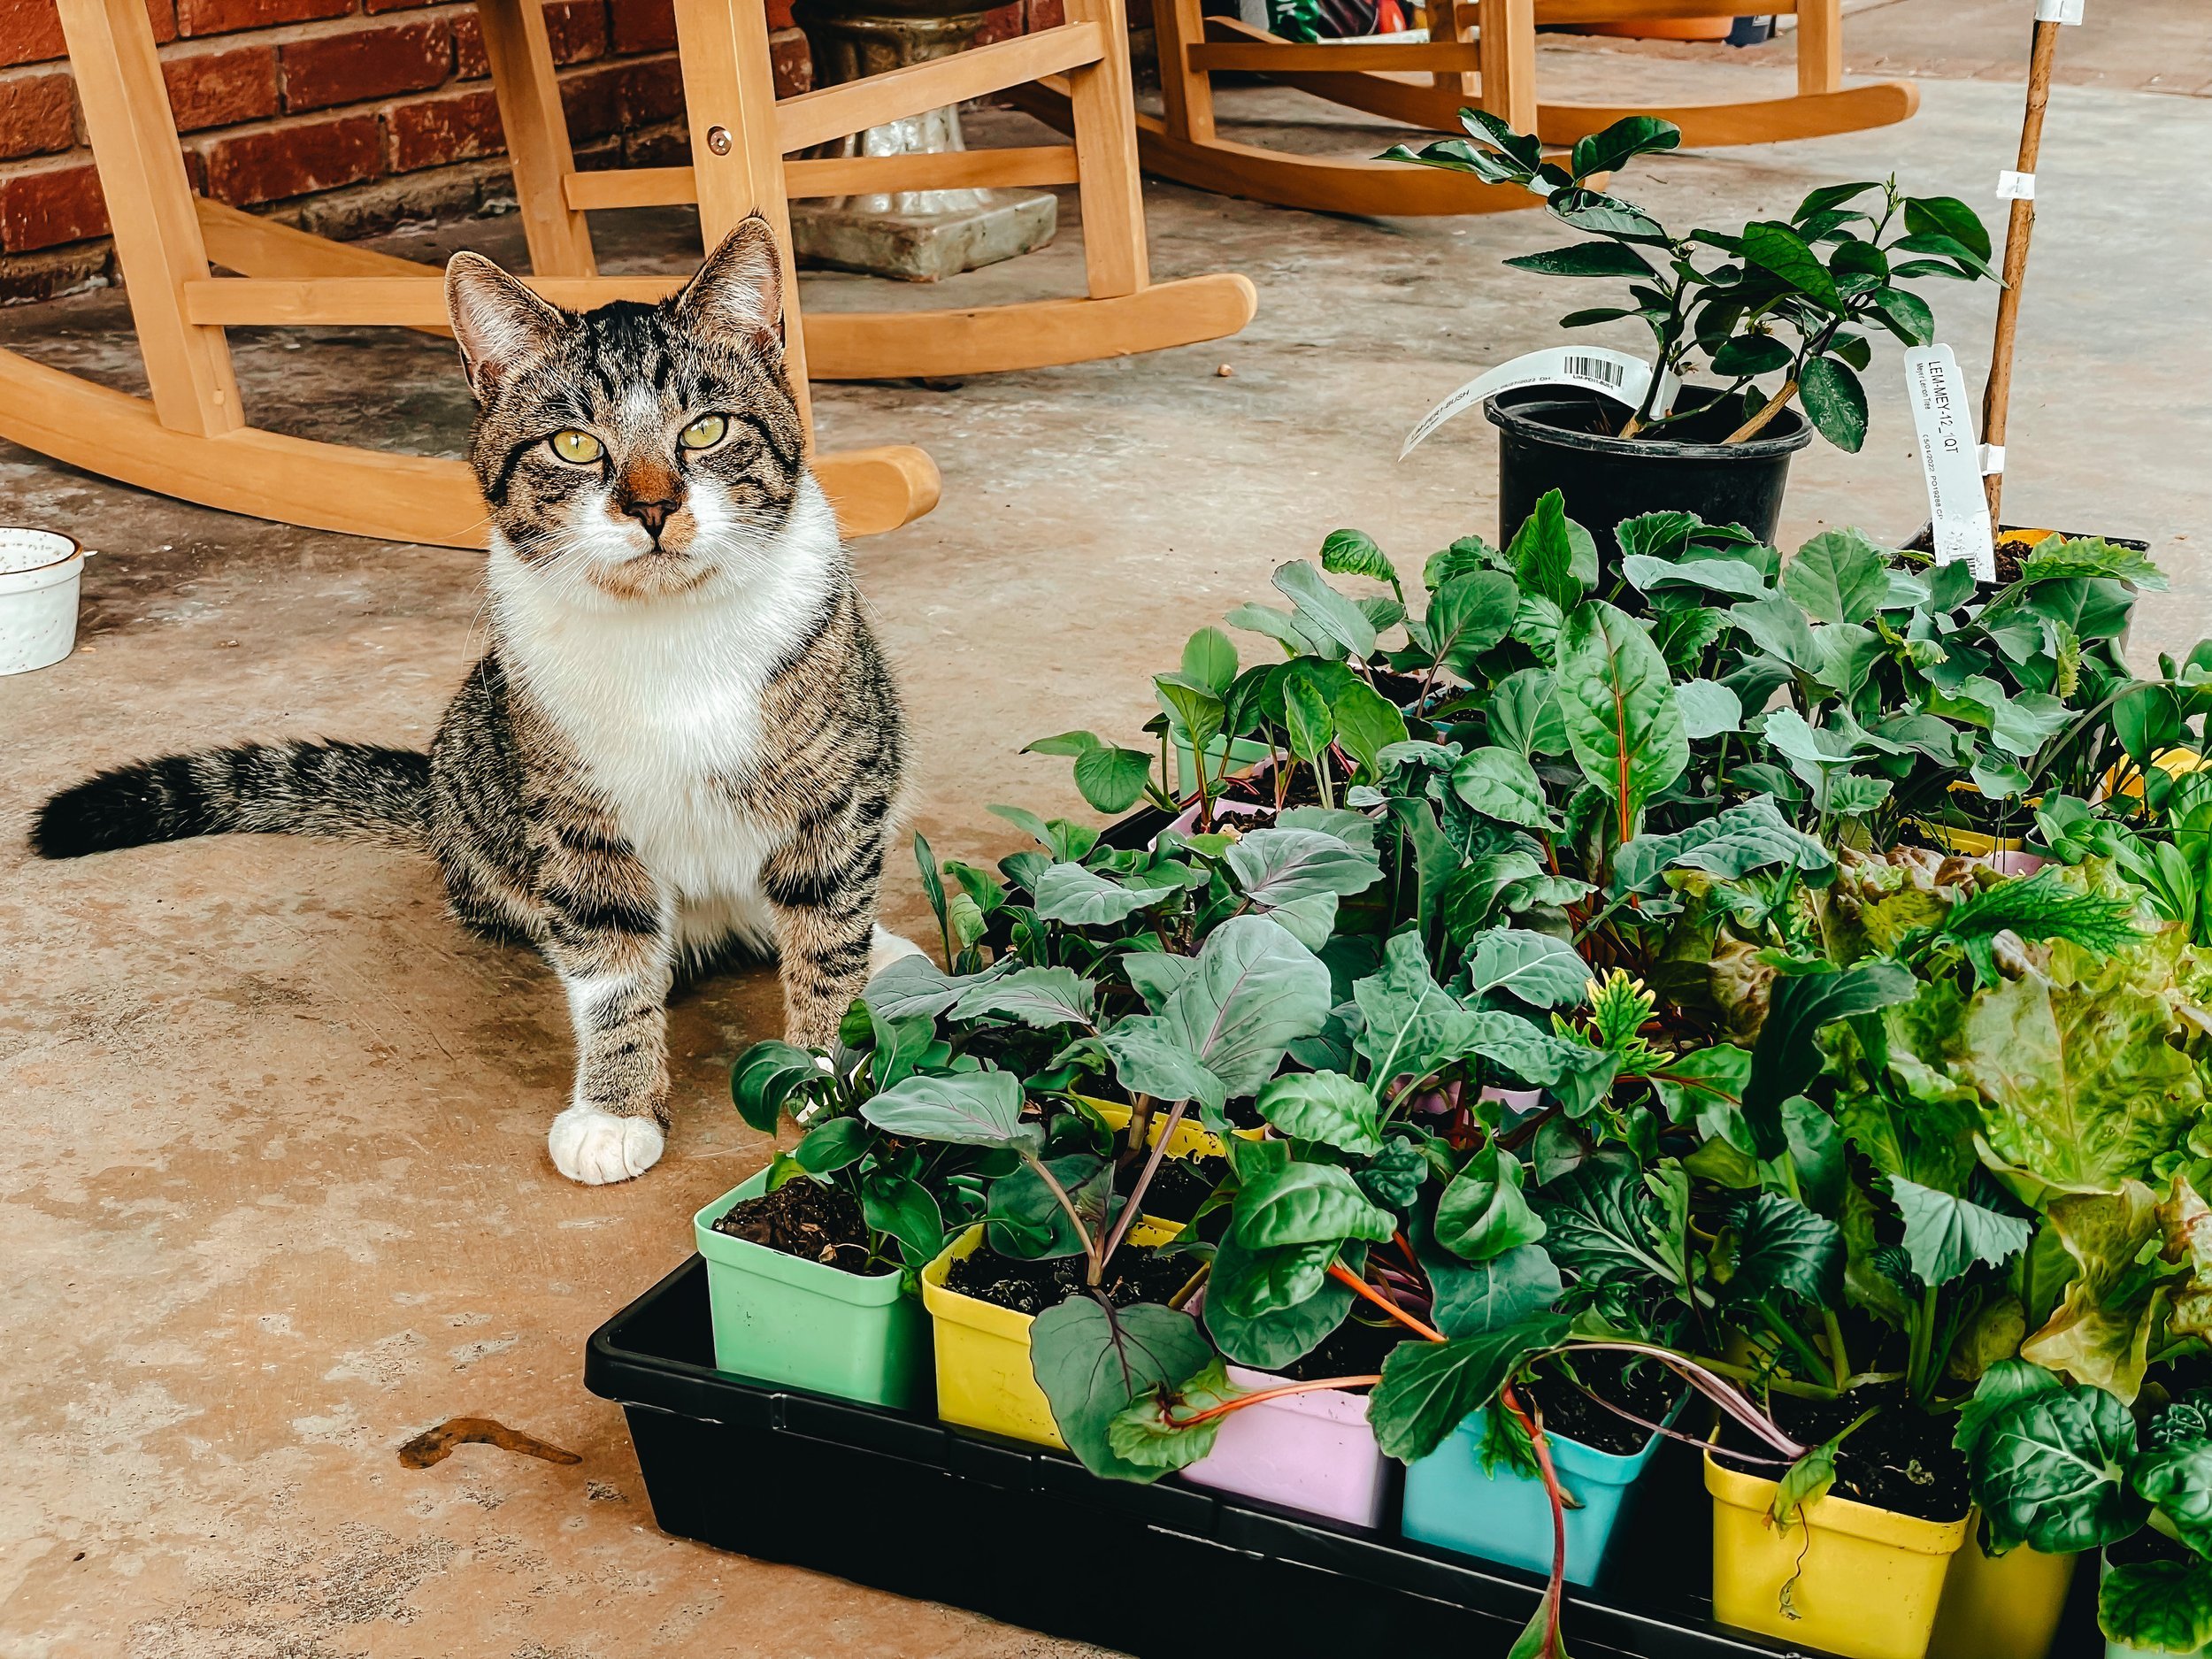
Trays & Containers

The trays you get from home depot or lowes just don’t cut it after the first year..or after you pot up seedlings & they’re all of a sudden much heavier! Do yourself a favor and invest (not much more $, honestly) in sturdy trays.
I love my Bootstrap Farmer Trays, but I wanted to provide an option via amazon, as well.
For soil blocks, I use the Bootstrap Farmer Mesh Trays inside of the Standard ones for watering!
I am not affiliated with Bootstrap Farmer in any way, but I love their products, so I am recommending them above the amazon products if you’re able to get them.

There are a lot of benefits to soil blocking. The blocks are easier to pot up, they don’t get root bound, they “air prune” themselves, and they’re sustainable as far as materials go. They take some extra prep work & getting used to, but I love them when I have time to make them!

Again, I use the Bootstrap Farmer Seedling Pots (I have an abundance of colorful ones) because I ordered in bulk & they ended up being cheaper and STURDIER than any others I’ve used.
You can find an abundance of seedling pots on amazon in different shapes and sizes. I like the 2.5” ones!
I am not affiliated with Bootstrap Farmer in any way, but I love their products, so I am recommending them above the amazon products if you’re able to get them.

I will be investing in many, many more of these bad boys in the coming years. I love them for flowers, herbs, and onions. They hold SO many seeds & they’ve been worth their weight in gold.
Again, I have the Bootstrap Farmer ones.
I am not affiliated with Bootstrap Farmer in any way, but I love their products, so I am recommending them above the amazon products if you’re able to get them.

These are a very good space-saving option. They do take a while to biodegrade, but I like how easy they are to fill up & use. They allow the roots to breathe & grow, similar to soil blocks.
Soil

This can be a loaded subject. Lots of people have their favorites and go-to seed starting mixes, but, for me, I just use what’s available to me. Happy Frog or Fox Farm potting soils are my ideal options, but most of the time I just grab a bag of whatever is available at the hardware store - I always buy organic though!
I like using potting soil versus seed starting mix to start my seeds. Why? I’m lazy with potting up & I always get behind. Potting soil feeds the seedlings much longer than seed starting mix does.

The texture of seed starting mix is unbeatable. It’s the one thing I don’t love about using potting soil (I could screen it, but that’s more work than I want to do most of the time).
If you’d rather go the seed starting mix route, this is a great brand. You truly can use any brand (yes, even burpee or miracle gro) but make sure you get the organic stuff!!!
Watering

I don’t care what anyone else says…THIS is what you want to use for watering your seeds & seedlings. It is so gentle on them, unlike a normal watering can, and it doesn’t make your hand cramp up like a spray bottle. This was one of my best investments.
Potting Bench

I’m not going to link a fancy potting bench that you don’t need. Use what you’ve got!
My current setup is some plywood on top of sawhorses & it’s working wonderfully. Eventually we’ll have a greenhouse with counters & a soil tub, but this works for now.
Whatever you do, make sure you have a good chair to sit in. Bending over to start seeds is no fun after awhile. A chair or stool can work wonders!
Labels
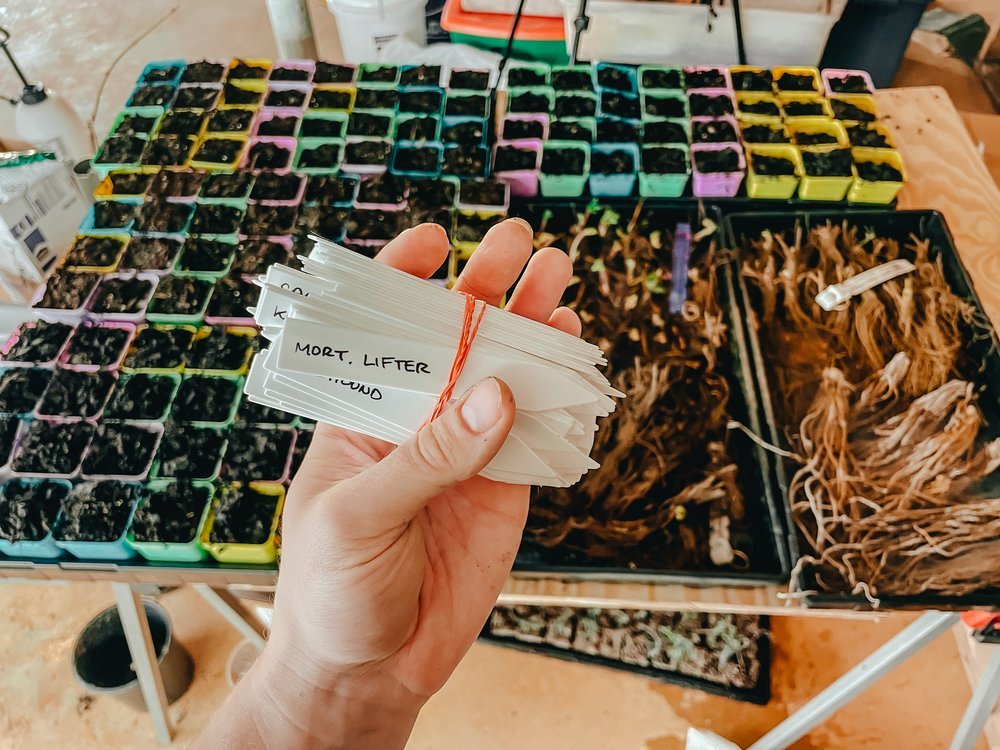
I don’t like to label my seedlings until they’re potted up into the colorful seedling pots. To start out, I use my garden planning sheets printed out & then I write which varieties are in each cell or block of cells, label the tray as 1, 2, 3, etc. and label the top and bottom. This works best for me & saves so much time.
I find I get behind on seed starting because of the tasks associated. I never feel like prepping soil blocks or making hundreds of labels. Waiting til I pot them up gives me a bunch of extra time (and motivation).
Of Course, Seeds!

I like to experiment and grow fun things in my garden. Yes, you can get standard boring seeds from anywhere, and I do sometimes. But these places always have interesting varieties that I like to try out!
I also highly suggest looking into local places to purchase seeds if you can, too. It’s neat to grow a regionally-adapted seed, especially if you compare it’s growth and success to seeds from other places. (Okay, maybe I’m just a bit of a nerd with this stuff).
You should have everything you need to start seeds now…so go to one of those seed shops, make some soil blocks & get sowing!